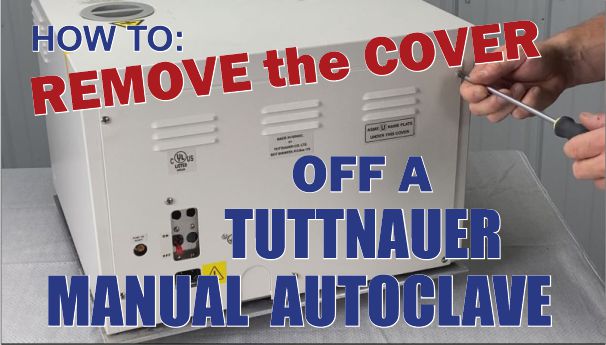
How to Remove Complete Cover from a Manual Tuttnauer Autoclave
We have a tie-in video for those who are visual learners that you can watch here.
And if you just want to talk to someone, call our Free Tech Support at 704-966-1650 Option 3.
The Removal Process
Remove the Screws
There are 12 screws in total surrounding the unit’s casing. Two on top, two on the left and right sides, and 6 on the back panel. However, there is no specific order to remove them. Because the unit’s cover is only a back panel and a single canopy piece up top. So just start by removing them all and once you get to the back, don’t forget the screw above the power button panel.
Remove the Back Panel
By now the back cover will most likely have fallen or close to it if you’ve gotten all the screws out. Remove the back panel first as it is the only piece separate from the canopy cover. There’s a green ground wire connected to the back. Unplug it before you move on.
Remove the Reservoir Cap
There is a grey reservoir cap on the top of the unit. That is your reservoir cap. That should just pull right up out of the unit.
Remove the Complete Cover
Now it’s time to finally remove the cover of the unit itself. There should be nothing else connecting it to the unit now, so you should be able to just pull it up.
That’s it!
Once those steps are complete, your autoclave is ready for any internal repairs or inspections that you need to do.
The Reservoir Cap is available here.
As always if you have any questions about this process or anything else please feel free to contact us and take advantage of our “FREE TECH SUPPORT.”
We also offer FREE VIRTUAL TECH SUPPORT to “See and Talk” with a “Real Time Live Technician” for any problems you may be in need of help with.
You can also use our “FREE MAINTENANCE PROGRAM”. Take the guesswork and worrying about what unit is due for maintenance and which maintenance cycle it is time for. We will keep track of all your autoclaves and let you know when it’s time for anything.


