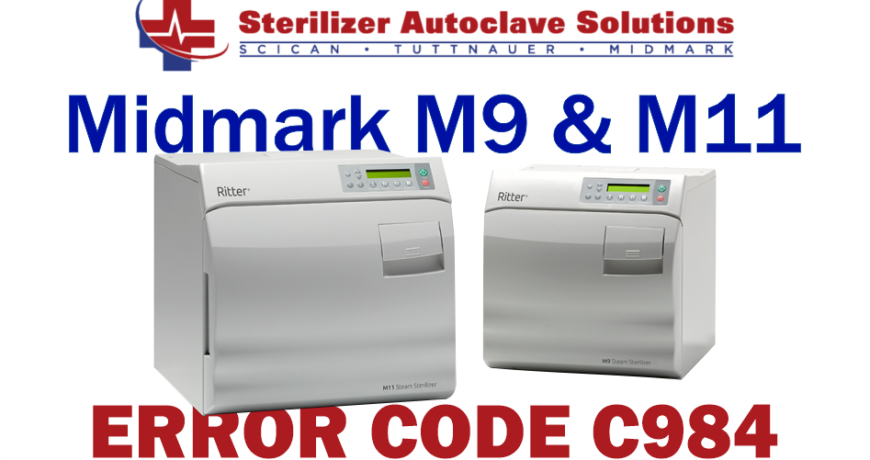
Midmark “New Style” Error Code C984 Leave a comment
In this article, we’re going to explain one of the many error codes that can affect your Midmark M9/M11 autoclave. This article will focus specifically on error code C984. We’ll tell you about the problem, what displays when the error occurs, its possible causes, and the course of action to take to resolve said error.
However, if you’re more of a visual learner, we have a video on this error code available here.
And if you just want to talk to someone, call our Free Tech Support at 704-966-1650 Option 3.
Display/Symptom
C983: STERILIZE MODE HI-LIMIT OPEN
UNPLUG / REPLUG UNIT
High-Limit Thermostat Opened for At Least 0.25 Seconds During STERILIZE Mode.
Causes, Checks and Actions
Possible Cause 1: Maintenance not performed.
- Check: Verify weekly & monthly maintenance has been performed by customer. Refer to User Guide.
- Action: Perform monthly maintenance.
Possible Cause 2: High Limit Thermostats Open
- Check: Verify if unit is still overheated.
- Action: Unplug unit for 60 seconds, then plug unit into a dedicated, properly rated circuit. Allow unit to cool for 30 minutes.
Possible Cause 3: High Limit Thermostats Malfuncitoning
- Check: If error code does not reset… Perform: Thermostat Continuity Test Meter Reading – Anything but OL
- Action: Replace Thermostats
M9 Thermostat OEM available here
M11 Thermostat OEM available here
Possible Cause 4: Loose/Damaged Wiring Connections
- Check: Check wire connections at high-limit thermostat and at J5 on Main PC Board.
- Action: Secure / Repair loose or damaged wire connections.
Possible Cause 5: Pressure Leaks.
- Check: Check for loose / worn door and dam gaskets or water leaking around door. Verify door and dam gaskets are installed properly. (Replace gasket kit 1x year)
- Action: Clean / Replace gaskets.
M9 Door Gaskets OEM available here
M11 Door Gaskets OEM available here
- Check: Replacement fill / vent valve solenoid requires rectifier harness for DC coil.
- Action: Install rectifier harness.
- Check: Check for voltage flow through rectifier harness. Refer to: Fill / Vent Valve Supply Voltage Test
- Action: Replace rectifier harness.
- Check: Leaking or defective vent valve. (Check for water leaking from condensing coil spout) Perform: Vent Valve Test
- Action: Clean / Replace vent valve.
M9 Vent Valve Repair Kit OEM available here
M11 Vent Valve Repair Kit OEM available here
- Check: Leaking or defective fill valve. Check for water leaking back into reservoir thru the fill line. (Look for bubbles coming from bottom of reservoir) Perform: Fill Valve Test
- Action: Clean / Replace fill valve.
M9 Fill Valve OEM available here
M11 Fill Valve OEM available here
- Check: Leaking or defective air valve. Check for excessive steam coming thru condensing coil spout. NOTE: During the HEAT & VENT modes, it is normal for steam to be exhausted thru the spout.
- Action: Clean / Replace air valve.
M9 Air Valve OEM available here
M11 Air Valve OEM available here
- Check: Leaking or defective Pressure Relief Valve. Check for water / steam leakage from beneath the rear of the sterilizer. Perform: Pressure Relief Valve Test
- Action: Replace pressure relief valve.
M9 Safety Valve OEM available here
M11 Safety Valve OEM available here
- Check: Pressure transducer tubing leaking. Check for steam leakage at pressure transducer tubing connections.
- Action: Secure pressure transducer tubing connections with high temperature cable ties.
M9 Pressure Tubing OEM available here
M11 Pressure Tubing OEM available here
- Check: Check all plumbing fitting connections for leakage.
- Action: Tighten or replace fittings.
Possible Cause 6: Heating element malfunctioning.
- Check: Inspect heating element. Heating element should lay flat in the bottom of the chamber. Heating element should be free of any flaking / pitting. Perform: Heating Element Resistance Test (should read 9-11 Ω)
- Action: Replace heating element.
M9 Heating Element OEM available here
M11 Heating Element OEM available here
Possible Cause 7: Sterilizer is unlevel. (remove tray / trays)
- Check A: Verify support surface is level.
- Check B: Verify water on all sides of chamber are equal.
- Action: Place sterilizer on a level support surface.
Possible Cause 8: PC Board malfunctioning.
- Check A: Perform: Heating Element Supply Voltage Test (With harness attached to leads should have line voltage in test mode)
- Check B: Perform: Main PC Board Relay Test (Check TP1 & TP2 for an acceptable range: 10 to 14 VDC)
- Check C: Perform: Main PC Board Pressure Transducer Voltage Test (Acceptable range: 4.0 to 6.0 VDC)
- Action: Replace Main PC board.
M9 PC Board OEM available here
M11 PC Board OEM available here
Possible Cause 9: Sterilizer overloaded.
- Check: Check the size of the load. (Refer to User Guide)
- Action: Reduce load size.
As always if you have any questions about this process or anything else please feel free to contact us and take advantage of our “FREE TECH SUPPORT.”
We also offer FREE VIRTUAL TECH SUPPORT to “See and Talk” with a “Real Time Live Technician” for any problems you may be in need of help with.
You can also use our “FREE MAINTENANCE PROGRAM”. Take the guesswork and worrying about what unit is due for maintenance and which maintenance cycle it is time for. We will keep track of all your autoclaves and let you know when it’s time for anything.


