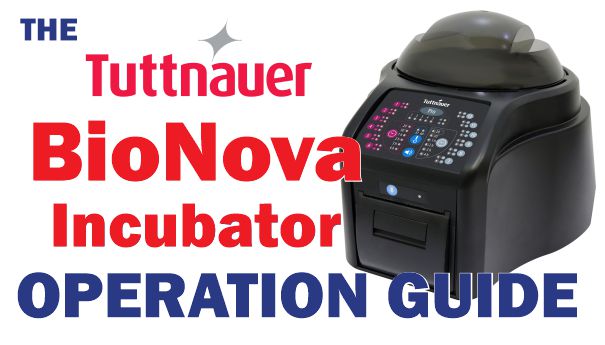
The Tuttnauer BioNova Incubator Operation Guide
This article is a continuation from our talks about Tuttnauer’s line of Biological Readers and Indicators. In this one, we’ll be talking specifically about how to use your new Tuttnauer BioNova Incubator. Our previous introduction article can be read here for context.
And if you prefer to follow along visually, our video on this subject is available here.
And if you just want to talk to someone, call our Free Tech Support at 704-966-1650 Option 3.
In this article we will explain in words how to go about using this biological reader and it’s intended indicators to test for bacteria in your autoclaves.
The Details
What is a Biological Indicator?
A biological indicator provides information on whether necessary conditions were met to kill a specified number of microorganisms for a given sterilization process, providing a level of confidence in the process. Endospores, or bacterial spores, are the microorganisms primarily used in BIs. A biological indicator is made up of a carrier material, on which bacterial spores with a defined resistance to the sterilization process have been applied. The carrier material is enclosed within a glassine vial. The BI is exposed to the sterilization process and then incubated under defined growth conditions to determine whether any spores survived the process. If no spores survive, none grow and the test is a pass. If growth is detected, the test is a fail.
Onto the BioMini
This is the general rundown of what the BioNova is capable of:
- Optimization of incubation times
- 2 Simultaneous programs
- 20 Minute & 1 hour process times can be used simultaneously
- 12 Incubation slots
- Ease of use
- Thermal printer
- USB connection with free software download
- One BI and reader can be used in both gravity and pre/post vacuum sterilizers
The BioNova is the larger, 12-slot version of the 2 in Tuttnauer’s current line.
The Testing Process
To start, begin by just plugging in the unit. There is no startup sequence or anything like that, no power button. So the unit just gets right to it. Set the unit to your desired temperature and wait for it to reach said temperature.
Once it reaches the proper temp, it’s time to get the testing indicator from the autoclave. These indicators come in 20 min, 30 min, 1 hour, 2 hour, 3 hour or 4 hour indicators. Grab the vial and press down the blue cap on top until you hear it click. this indicated the glass vial inside with the bacteria has broken. Then place it into the middle oval-shaped compartment on the unit and move it back and forth about 3 times to ensure the vial is completely broken. We recommend one last shake once you take it out for good measure.
Then place the indicator in any of the available 12 slots in the unit. Remember that the BioNova can have each half of the unit on different time cycles, but not different temperatures.
Once the indicator is in place, green and red lights will flash simultaneously. This will change to one or the other depending on the result after the test is finished. Green indicated. negative result for bacteria found, which is good. Red, however, is a positive result for bacteria. If the machine tests red, halt all sterilization with that autoclave immediately, re-run a cycle and do the test over.
And once that’s done, your testing process is complete. And you’re ready for the next time this needs to be done as well.
As always if you have any questions about this process or anything else please feel free to contact us and take advantage of our “FREE TECH SUPPORT.”
We also offer FREE VIRTUAL TECH SUPPORT to “See and Talk” with a “Real Time Live Technician” for any problems you may be in need of help with.
You can also use our “FREE MAINTENANCE PROGRAM”. Take the guesswork and worrying about what unit is due for maintenance and which maintenance cycle it is time for. We will keep track of all your autoclaves and let you know when it’s time for anything.


