
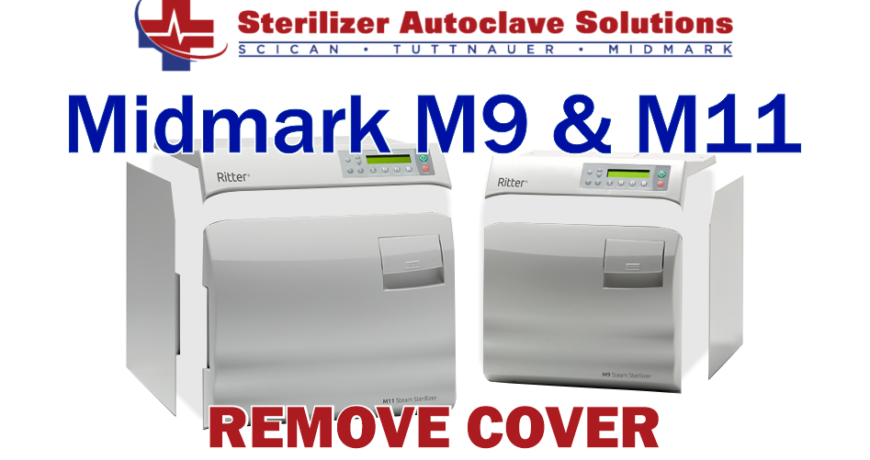
How to Remove the Midmark M9/M11 Complete Cover Leave a comment
In this article we’d like to cover how to remove the complete cover of your Midmark M9 or Midmark M11 autoclave. This will help you to take your autoclave cover safely apart for maintenance. With our guide, there’s no need to worry about potentially damaging your autoclave.
A tip for the future: sometimes it helps to take pictures of any part you think you won’t remember once it’s time to put it back on.
However, if you’re more of a visual learner, we have a tie-in video available here.
And if you just want to talk to someone for any questions you may have, call our Free Tech Support at 704-966-1650 Option 3.
Removing the Cover
First things first, you’ll need to have yourself a Philips screwdriver. And you’ll want to unplug the unit as well to avoid any injury. Keep in mind that the unit consists of four covers. The top, back, and two sides.
We will start with the side panels. Starting on either side is fine. Look at the top of the autoclave, there are six screws in total holding the panels together to the top cover. However, only four of them are for the side panels. Two for each side panel. Start with the two screws on whichever side panel you wish to takeoff first and loosen them with your Phillips screwdriver.
Once you take the screws out put them to the side but do not discard them. They are a specific size and fit to the specific area in which you took them from.
After the two screws are out, get a hold of the panel carefully for this next step. There is a third screw for the panel on the back bottom of the autoclave stabilizing it. Carefully loosen that screw out as well while keeping the panel upright with your hand.
After the side panel that you’ve taking off is set to the side, now we can begin with the top.
The Top Cover
When you start with the top the first thing you want to do is start at the pressure relief valve. You’ll need a bit of a longer screwdriver to loosen the screw from inside of the unit. Just visually inspect the pressure relief valve from the top to pinpoint the position of the screw. It should be towards the back center of the inside of the unit. Find the screw and loosen it.
You’ll notice that the screw is hooking to a key ring. That key ring is what activates the pressure relief valve’s primary function. Do not take the screw all the way out of the plastic piece. You’ll have to watch until it’s just past the opposite side of the key ring. Once you can open the plastic valve lid all the way with no trouble, you’ll know it’s fully unhooked from the keyring.
Once that’s done then we can move on to unscrewing the cover itself. And that process begins with taking off the other side panel that you haven’t yet removed. Repeat the same process as before with the one you started with. Start with the two screws on top, stabilize the panel with your hand, and move your way towards the back screw. Then just set that panel to the side as well.
Once the side panels are removed, then take those final two screws from the back area of the top cover out. Don’t take the top cover completely off of the unit yet however.
The Back Cover
Since we’ve gotten as far as we have in the removal process, the back cover should be the easiest part. There are three screws along the bottom line of the back panel. However two of them have already been loosened and/or removed by this point. Which only leaves the one in the center. Unscrew the last screw in the center and carefully move the back cover away from the unit.
You’ll notice that there are multiple connections to items attached to the back plate. We highly recommend taking pictures of these connections in case you forget where to put them later on when you reverse this process. Trust us, it’ll come in handy.
Unhook the two wires from the fan on the top left of the panel. The blue and white wires respectively. And you can unhook the central power to the power port, however it is not required. But keep in mind if you choose to leave that plugged in, you may want to carefully watch where you place the back panel. Because the cables can stretch if not careful.
The Top Cover (Part 2)
Hope you didn’t think we forgot about our trusty top cover. But there is a reason we had not removed it entirely yet. Just like the back panel, it has multiple electric connections to other parts of the unit. Which is what you’ll have to look out for.
The three main things still holding it to the unit is a display connector, printer cable and some connected ground screws. You can unhook the display connection from the main PC board towards the top left. It’s the white ribbon connection, which you can just unhook and pull out of the PC board pretty easily. Same goes for the printer cable, it has a push button on the PC board which will let you just pull it out easily. But as always, please be careful.
That last green wire that connects to the inner part of the top cover can be slightly annoying. It’s not exactly in a good position for a comfortable removal. But it should have a little thumb latch which you can push down and pull to remove it.
And by this point, congratulations, you now have a full look into the inner workings of your autoclave.
The Condensation Coil
Moving onto the condensation coil, it should be very noticeable. It is the copper tubing up on the right side of your unit if you’re facing the back. There should be a silver hook fitted to keep it in place, we’re gonna want to take that off. There should only be one screw holding it in place, then you just have to maneuver it around the coil to fully remove it.
The coil itself wasn’t really being held down by anything after that silver hook. So you can just wiggle it out of its current place. Once that’s done just send it to the side carefully like you’ve been doing with everything else.
The Reservoir
This is probably the easiest portion of all of this, fitting that it’s the last thing you have to do. The reservoir only needs to have its lid and gasket cover removed in this portion. That plastic cover should just slide off in one direction and you can just said that to the side as well. Now the only thing left in your way is the rubber gasket on the top.
The gasket can just be pulled off with no problem, but you must still be careful with it. Just be sure not to let it tear is that can cause leaks down the line without your knowledge and cause many more problems than you might not wanna have.
And You’re Done!
You’ve taken apart your autoclave safely just in time for any maintenance on its inner workings. We hope this guide helped you to make the process a little easier. However if you’re still unsure, you can refer to the video to help with any visual aid you need for a specific section. But if you have any questions you can contact us via the links below for any other support.
As always if you have any questions about this process or anything else please feel free to contact us and take advantage of our “FREE TECH SUPPORT.”
We also offer FREE VIRTUAL TECH SUPPORT to “See and Talk” with a “Real Time Live Technician” for any problems you may be in need of help with.
You can also use our “FREE MAINTENANCE PROGRAM”. Take the guesswork and worrying about what unit is due for maintenance and which maintenance cycle it is time for. We will keep track of all your autoclaves and let you know when it’s time for anything.