
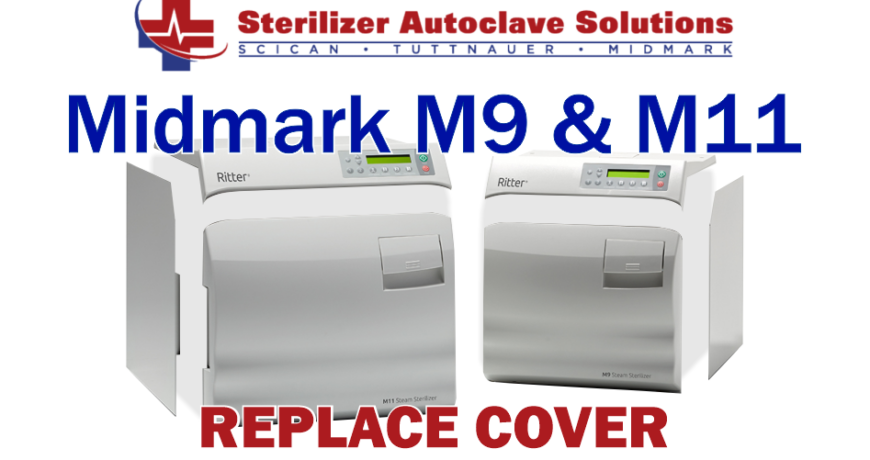
How to Replace Midmark M9/M11 Complete Cover Leave a comment
In this article we’d like to cover how to replace the complete cover of your Midmark M9 or Midmark M11 autoclave. This will help you to put all the new replaced parts back where they’re supposed to be. With our guide, there’s no need to worry about potentially damaging your autoclave.
A tip for the future: sometimes it helps to take pictures of any part you think you won’t remember once it’s time to put it back on.
However, if you’re more of a visual learner, we have a tie-in video available here.
And if you just want to talk to someone for any questions you may have, call our Free Tech Support at 704-966-1650 Option 3.
Removing the Complete Cover
Reservoir Gasket
The first step will be to replace the reservoir gasket. Make sure you haven’t left any maintenance tools or anything in the reservoir beforehand. Then place the rubber gasket over the opening and make sure it’s secure.
Take the plastic sliding cover and face it so that it slides towards the inside of the unit, and slide it in over top of the reservoir gasket.
Copper Coil
Next, take the copper coil and make sure the larger more open end is facing the inside of the unit. Position it inside of the hook on the plastic reservoir cover and make sure the tube’s ends are lined up with the rubber grommets below it. Be careful not to apply too much pressure as this can push the rubber grommets into the unit.
Then you need your copper tubing bracket and its assigned screw. You’ll need to adjust it so the top hooks around the copper tubing, and screw it into its place. There’s a hole for the screw just under the right side of the copper tubing in a recessed area above the silver box (if you’re facing the back of the autoclave.)
Back Cover Plate
Next it’s time to take the back cover and its specific screws to attach it. There are 3 holes to screw the back plate on to. Start by screwing in through the middle hole while holding the back plate up to the unit.
While you hold the back plate up with the middle screw in, place the top cover on top of the unit. There are rubber stoppers on the bottom of the top cover, make sure those are lined up properly. you’ll know you did it right because the top cover won’t move or slide around.
Now you’re going to attach the top and back covers before moving any further. Look at the top cover. There are 6 holes to screw into. 4 towards the front in a square shape, and 2 extra holes by themselves furthest to the back. Take the furthest 2 holes and align them with the holes on the top of the back plate.
Screw the 2 screws in and your back and front cover plates will be connected and secure.
Pressure/Safety Valve
Now we move on to the pressure/safety valve. The plastic flap piece on the top cover of the unit. Open that valve flap and you’ll see a screw through the back of the flap lid and a loose keyring inside slightly below it.
You’re first going to loosen the screw so that it’s more to one side than in the center, but enough to where you can lower the flap all the way. Then close the flap and make your way down to the open left side of the autoclave (if you’re facing the back of the unit.)
Find the closed flap and tighten the screw on the side, making sure to hook the keyring. After you’ve done that, slightly pull up on the valve, and if it won’t come up past a certain point then you’ve got a successful hook.
Door Hinge
Next it’s time to attach the left side panel (facing the FRONT of the autoclave.) This is the panel on the same side as the plastic door hinge. On the topic of that hinge, make sure the plastic door hinge is connected properly. The back of it has two small connection pieces that fit tightly near the back left side of the chamber door. You may need to open the chamber door slightly to position it properly.
Left Side Panel
Once that’s checked, grab your left panel. Take a look at it closely. On the bottom inside of the panel, there are two interlocking tabs. On the bottom back of the panel theres a hooked piece, that stays on the OUTSIDE of the unit, do not cover it. And there are two screw holes on the top of the panel that, once put in, align with the two holes on the top cover.
Hold the left panel and align it with the top cover holes and screw just one in. Once that’s done you don’t have to keep a hand on it. Then move on to the bottom back screw near that hooked piece we mentioned before. Screw that securely, then you can move back to the other screw on the top cover and get that one no problem.
Reconnection
Now go to the last open side of the autoclave, and now it’s time to reconnect everything. We recommend referring to minute 8 of our video here if you don’t remember visually where each connection goes.
But you’ll be connecting the top cover’s ribbon cable and the printer port cable to the top left and top right ports on the PC board respectively. And the green grounding connection cable for the screen should connect to a white port on the left inside part of the top cover nearest to the screen.
Lastly are the two small fan cables, a blue and white cable that should be draped down the side unconnected. the fan is at the top right of that side, and the blue goes on the right side, and white on the left.
Right Side Panel
Finally the right side panel is ready to be attached. Refer back to how you placed the left side panel on and repeat the process. Keep the hooked part outside the back, make sure to line up the interlocking tabs and screw holes. One on the top, then the back, then the last on the top.
And You’re Finished!
Now you’ve successfully put your Midmark M9/M11 autoclave back to it’s original state. We hope this guide helped you to make the process a little easier. However if you’re still unsure, you can refer to the video to help with any visual aid you need for a specific section. But if you have any questions you can contact us via the links below for any other support.
As always if you have any questions about this process or anything else please feel free to contact us and take advantage of our “FREE TECH SUPPORT.”
We also offer FREE VIRTUAL TECH SUPPORT to “See and Talk” with a “Real Time Live Technician” for any problems you may be in need of help with.
You can also use our “FREE MAINTENANCE PROGRAM”. Take the guesswork and worrying about what unit is due for maintenance and which maintenance cycle it is time for. We will keep track of all your autoclaves and let you know when it’s time for anything.