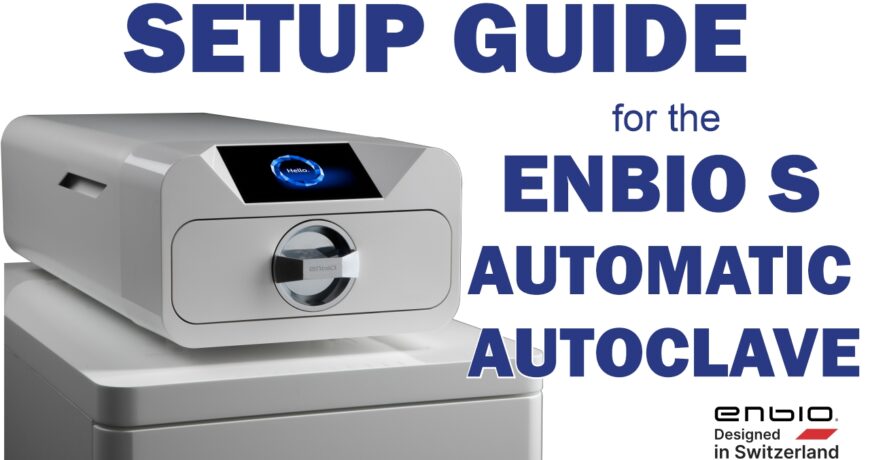
Enbio S Setup Guide
In this article, we’ll show you how to set up your brand new Enbio S Automatic Sterilizer. The Enbio S is finally stateside and we at Sterilizer Autoclave Solutions are your ONE AND ONLY U.S. authorized service, warranty and repair center. This guide is going to show you how to set up your Enbio S using what comes in the box and with your purchase.
However if you’re more of a visual learner, we have a tie-in video available here.
And if you just want to talk to someone, call our Free Tech Support at 704-966-1650 Option 3.
Setting Up
Before we get into how to connect everything, we should probably take a look at WHAT you’ll be connecting. Inside the box, along with the Enbio S unit itself and its power source, you’ll have the following items:
- Waste Water Jug
- Distilled Water Jug
- USB Thumb Drive
- Bio Filter
Connecting the Lines
We’ll start the process by connecting the two lines, waste water and distilled water. To begin, take a look on the back left portion of the unit. There, you’ll find two ports, a red and a blue port for connection. First we’ll connect the tubing to the unit.
First, take the blue connection tube with the cap on it. This is the Distilled Water line. There should be a black mark on the end of the tube you’re supposed to connect to the unit. Connect the tubing into the blue port until the black mark on the tube itself touches the base of the sterilizer. After you’ve secured it, make sure to tug on it a little to ensure that it is indeed secure.
You’re going to repeat this process for the Waste Water line, a.k.a the red line. Insert until the black mark hits base, make sure it’s secure and give it a tug.
Thumb Drive
Next, you’ll have to plug in the thumb drive. The USB port is located to the right hand side of the green power switch on the back of the unit. Remember: never turn on the unit without plugging in the thumb drive first.
Bio Filter
Now for the Biological Filter. The filter screws into the port in the back center of the unit. It should turn approximately 7 times before it becomes cross-threaded. Do no turn it more than 7 times. Once that filter has been secured into the back, you can plug in the unit itself.
Connecting the Jugs
We’ve already connected the distilled and waste water lines by now, but now we need to connect them to the jugs themselves. Towards the end of the lines themselves, the colored plugs that attach to the jugs themselves should essentially attach like a cork. The smaller end goes into the bottle and plugs it off.
However, before plugging in the distilled water jug, you MUST draw the line out so that the blue line can submerge into the water. It must at least reach to the bottom of the jug itself as the distilled water line takes liquid from the jug to the unit. So be sure you draw enough of the line out from the lid to the bottom of the jug. Then once you’ve figured that part, plug the lid onto the jug and move onto the waste water.
The waste water line doesn’t need to be submerged, so you can just plug the waste water line into the jug with no modifications.
Then You’re Ready!
Once you’ve followed this guide and/or the video involved from our channel, you’re ready to start up your new Enbio S Automatic Sterilizer.
As always if you have any questions about this process or anything else please feel free to contact us and take advantage of our “FREE TECH SUPPORT.”
We also offer FREE VIRTUAL TECH SUPPORT to “See and Talk” with a “Real Time Live Technician” for any problems you may be in need of help with.
You can also use our “FREE MAINTENANCE PROGRAM”. Take the guesswork and worrying about what unit is due for maintenance and which maintenance cycle it is time for. We will keep track of all your autoclaves and let you know when it’s time for anything.
The Enbio S Automatic Sterilizer is available for purchase here.
The Enbio S Waste Water Jug is available for purchase here.
The Enbio S Distilled Water Jug is available for purchase here.
The Enbio S Bio Filter is available for purchase here.
Any parts you require for your Enbio S can be purchased here.


