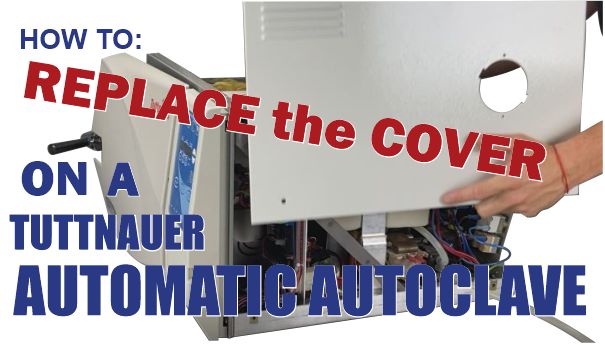
How to Replace the Cover of a Tuttnauer Automatic Autoclave
In this article, we’re going to show you how to replace the cover from your automatic Tuttnauer autoclave. This process is to help you reassemble your autoclave after you’ve finished everything you needed inside the core of the unit.
We have a tie-in video for those who are visual learners that you can watch here.
And if you just want to talk to someone, call our Free Tech Support at 704-966-1650 Option 3.
The Reinstallation Process
Placing the Cover Back On
This is the easiest step. Simply take the larger canopy cover you probably have off to the side and put it back over top of the unit. make sure to thread the tubing for the HEPA filter through its proper slot in the right side of the cover (facing front). Line up the cover with the bottom lips and holes for the screws so you’ll have no trouble later.
Ground Wiring
You’re going to want to find the proper ground wire towards the back and plug it into the overhead cover on it’s left side (facing back) where it belongs.
Secure the Back Panel
Now it’s time to place the back cover back on. As you’re securing the cover to the back, remember to start by plugging in the second ground wire where it belongs on the back panel. Then lift and place the cover securely and get ready for the next step.
Put the Screws Back In
It’s time to screw your screws back in and secure both covers. But for this step, you’ll want to start by screwing in the back cover first. Unlike the canopy cover, the back is not self-secured. So once you’ve put all 6 screws into the back panel, the order in which you do the others is arbitrary.
Put the HEPA Filter Back On
The final step in this process is to simply reconnect the HEPA filter from where you took it. Grab the tubing on the right side hole of the unit cover (facing front). Once you’ve found it, connect it to the bottom of the HEPA filter itself and secure it into the cover port. Some autoclaves have it to just be placed in, but others have it so that the filter cap needs to be twisted to secure it flush to the port. However you have to do it, make sure it won’t be going anywhere.
The HEPA Filter is available to buy here.
And with that, your autoclave is put back together and ready for the next work day ahead.
As always if you have any questions about this process or anything else please feel free to contact us and take advantage of our “FREE TECH SUPPORT.”
We also offer FREE VIRTUAL TECH SUPPORT to “See and Talk” with a “Real Time Live Technician” for any problems you may be in need of help with.
You can also use our “FREE MAINTENANCE PROGRAM”. Take the guesswork and worrying about what unit is due for maintenance and which maintenance cycle it is time for. We will keep track of all your autoclaves and let you know when it’s time for anything.


