
Statim Solenoid Valve Inspection & Repair Leave a comment
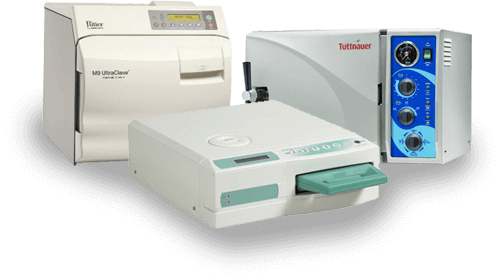
Solenoid Valve Inspection: The STATIM sterilizer is a very popular piece of equipment in the dental office today. Staff can avoid many service calls by taking proper care of the statim 2000 cassette and statim 5000 cassette making sure to correct all leaks before attempting to troubleshoot the unit, if you get a cycle falt error code. But many times that there are no visible leaks, the cycle fault may be an indication of a problem in the unit’s solenoid valve, which is the focus of this video. And if you just want to talk to someone, call our Free Tech Support at 704-966-1650 Option 3.
Solenoid Valve Inspection: A problem with the solenoid valve may be indicated for several cycle faults or error codes, everything from failing to pressurize and reaching optimum temperature to difficulty removing a cassette after venting. A loud buzzing noise indicates a clogged solenoid valve. Many of these errors suggest cleaning the valve of debris or checking for ease of movement of the plunger in the plunger tube. Our first step will be to disconnect the power to the sterilizer by unplugging the power cord. Never rely on just the power switch. If you disassemble the solenoid valve with the power on, you can cause damage to the valve coil. Once disconnected from the power, remove the nut, yoke and coil.
Solenoid Valve Inspection: The manufacturer suggests using a pair of pliers on the welded area of the valve stem or plunger tube when removing the solenoid valve stem. If this is done incorrectly, the pliers could collapse the hollow area of the valve stem, preventing the plunger from moving freely. We offer a spanner nut which provides an easier, safer way to remove and install the valve stem. By using the spanner nut with a wrench, the valve can be removed without disturbing the plunger.
Solenoid Valve Inspection: Next place the spanner nut over the valve stem or plunger tube and align the spanner nut pins with the base of the valve stem, as seen here.
Solenoid Valve Inspection: Next using a wrench on the spanner nut, loosen the valve stem to access the internal parts of the solenoid valve.
Solenoid Valve Inspection: Finally, remove any debris found in the valve body. It might be a good idea to blow air through all the orifices, clean the plunger, make sure it slides smoothly in the plunger tube and reassemble the solenoid valve.
Solenoid Valve Inspection: Take care not to over-tighten the valve stem when re-installing. The stem should be snug and secure, about an eighth to a quarter turn with a wrench after finger tightening should be enough.
Solenoid Valve Inspection: Once the valve is reassembled, plug the sterilizer in and check for proper function. As you can see here, even something as intimidating as rebuilding the solenoid in the STATIM can be quickly and easily accomplished with a few simple tools.
If you have any questions about Statim 2000 or Statim 5000 cycle faults please do not hesitate to reach out via any channel, email us at info@statimusa.com or call us at 704-966-1650. You can also visit us on the web at StatimUSA.com.
As always if you have any questions about this process or anything else please feel free to contact us and take advantage of our “FREE TECH SUPPORT.”
We also offer FREE VIRTUAL TECH SUPPORT to “See and Talk” with a “Real Time Live Technician” for any problems you may be in need of help with.
You can also use our “FREE MAINTENANCE PROGRAM”. Take the guesswork and worrying about what unit is due for maintenance and which maintenance cycle it is time for. We will keep track of all your autoclaves and let you know when it’s time for anything.