
Midmark M9® Printer Paper Cartridge Kit OEM# 002-0371-00
FREE SHIPPING!!!
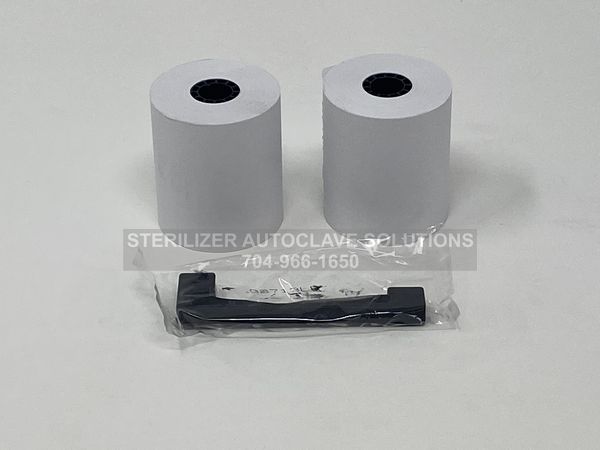
The Midmark M9® Printer Refill Kit (#002-0371-00)
Includes:
- 2 Rolls of Printer Paper
- 1 Cartridge
$47.00
The Midmark M9® Printer Refill Kit (#002-0371-00) includes two rolls of thermal printer paper and one cartridge.
It is used with the Midmark M9/M11 Impact Dot Matrix Printer and either one of the 2nd generation M9, M9D, or M11 sterilizers to record and print critical sterilization cycle data.
Note: If the printed material is difficult to read and you suspect a dried out ribbon is the cause of the problem, advance to a properly inked portion of the ribbon by pressing the “PAPER FEED” button for three seconds. If this procedure does not correct the problem, replace the cartridge ribbon
How To REPLACE the Cartridge Ribbon on Midmark M9 Printer
- Remove printer assembly from top cover.
- Remove the printer cover. (Bend the housing out slightly to release tabs).
- Push down on the side of the cartridge marked “Eject”, then remove cartridge.
- Install the new cartridge. Be sure the ribbon is inserted in front of the paper, and flat against the paper.
- Press cartridge down until it snaps into place.
- Turn the cartridge knob clockwise until ribbon is tight.
- Install printer cover / position printer on sterilizer.
How To REMOVE the Paper Roll on Midmark M9 Printer
- Press the “PAPER FEED” button to advance approx. 1″ (2.5 cm) of paper.
- Lift paper roll away from printer housing, then cut the paper feeding into the printer.
- Pull remaining paper thru the printer mechanism.
Equipment Alert: Be sure to pull the paper out of the top of printer. Pulling from the back will damage the printer
How To REPLACE the Paper Roll on Midmark M9 Printer
- Turn printer onto its back.
- Insert spindle into new paper roll.
- Unroll 2” to 3” (5 to 7.5 cm) of paper.
- If necessary, cut a straight edge on the paper to feed into the printer slot.
- Feed approx. 1/4” (6.4 mm) of paper into the printer slot.
- While holding paper in place, press/hold “PAPER FEED” button until 1” (2.5 cm) paper comes thru slot in printer cover, then release button*.
- Pull 2” to 3” (5 to 7.5 cm) of paper thru printer cover.
- Insert paper roll / spindle into slots of spindle holder as shown.
- Turn the paper roll to remove slack in the paper feeding to the printer.
- Install the printer assembly back into the printer cavity.
*Note: If necessary, remove the printer cover and manually feed the paper thru the slot in the cover
Based on 0 reviews
Only logged in customers who have purchased this product may leave a review.
Related products
-
New, Statim 2000 Parts (OEM)
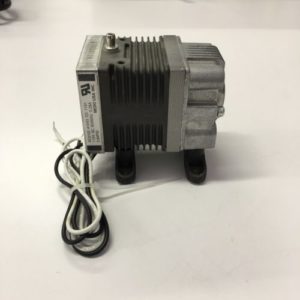
Scican Statim 2000 Compressor OEM 01-100560S
FREE SHIPPING!!!
(1) Scican Statim 2000 Compressor OEM 01-100560S
Notes:
Service Tip #1: A leaky check valve can cause moisture or steam to seep inside a compressor thus causing the compressor to fail. To avoid this problem, replace the check valve when replacing the compressor and replace the check valve every year.
Service Tip #2: – The OEM recommends replacing the Compressor Filters every 6 months or every 500 cycles (whichever comes first).
SKU: 01-100560S-2000 -
-
Autoclaves, New, New Statim Autoclaves, New Statim G4 5000, SciCan, Shipping Upgrades
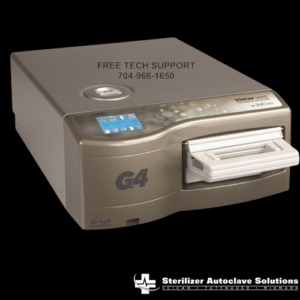
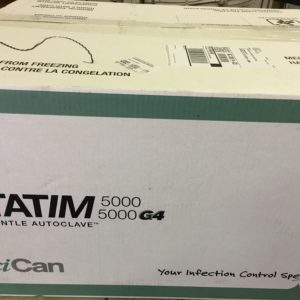
New – 2 YR WRNTY! Scican Statim G4 5000 OEM G4-201103
 Autoclaves, New, New Statim Autoclaves, New Statim G4 5000, SciCan, Shipping Upgrades
New – 2 YR WRNTY! Scican Statim G4 5000 OEM G4-201103
FREE SHIPPING!!!
SciCan’s innovative G4 Technology, now WiFi enabled, automatically records and monitors every cycle 24/7 so the tedious task of manually logging cycle data can now be done automatically and error-free.
SAVE EVEN MORE! Purchase a Statim G4 5000 With a 5 YEAR WARRANTY!
SKU: G4-201103-2YR
There are no reviews yet.